使用python,生成以太坊Ethereum的钱包地址,以及密钥和助记词,还可以批量生成。
下文提到的两个文件的懒人版,可以直接下载
点击下载:eth.zip
0,安装python,详情:https://www.loadream.com/p/669/
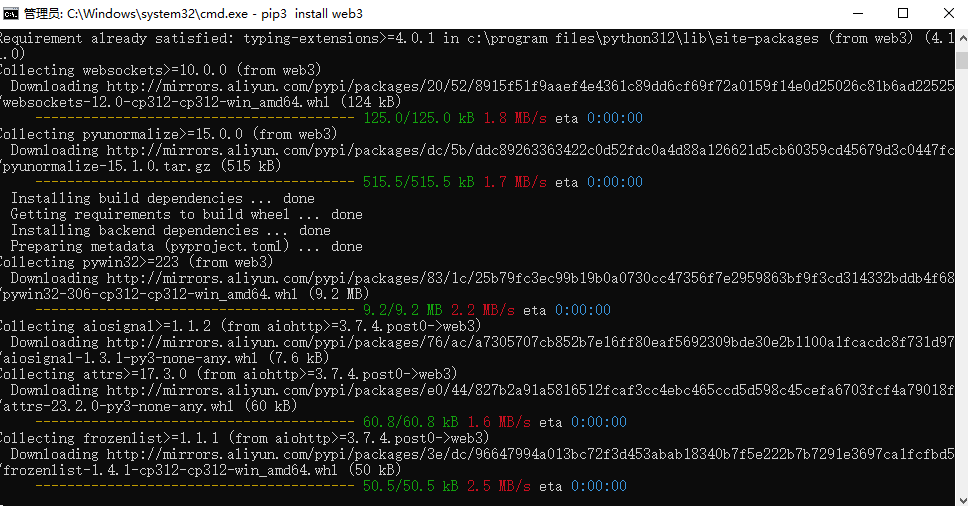
1,更新pip,安装依赖 eth_account 和 web3
python -m pip install --upgrade pip
pip3 install eth_account
pip3 install web3
pip install eth-keys
pip install mnemonic

2,这是生成单个以太坊钱包地址的代码
推荐去桌面新建一个 eth 文件夹,然后在这个文件夹中新建一个.txt记事本文件,复制下面代码到记事本,最后把文件名改成 oneth.py
import os
from eth_account import Account
from eth_utils import to_checksum_address
from mnemonic import Mnemonic


# 启用助记符功能
Account.enable_unaudited_hdwallet_features()

# 生成所需的长度
entropy_bits = 128
entropy = os.urandom(entropy_bits // 8)

# 根据熵生成助词
mnemonic = Mnemonic("english").to_mnemonic(entropy)

# 从种子短语生成私钥
private_key = Account.from_mnemonic(mnemonic).key.hex()

# 从私钥生成ETH钱包地址
address = to_checksum_address(Account.from_key(private_key).address)

# 从私钥生成ETH公钥
account = Account.from_key(private_key)
public_key = account._key_obj.public_key.to_hex()

print("助记词:", mnemonic)
print("私钥:", private_key)
print("公钥:", public_key)
print("钱包地址:", address)
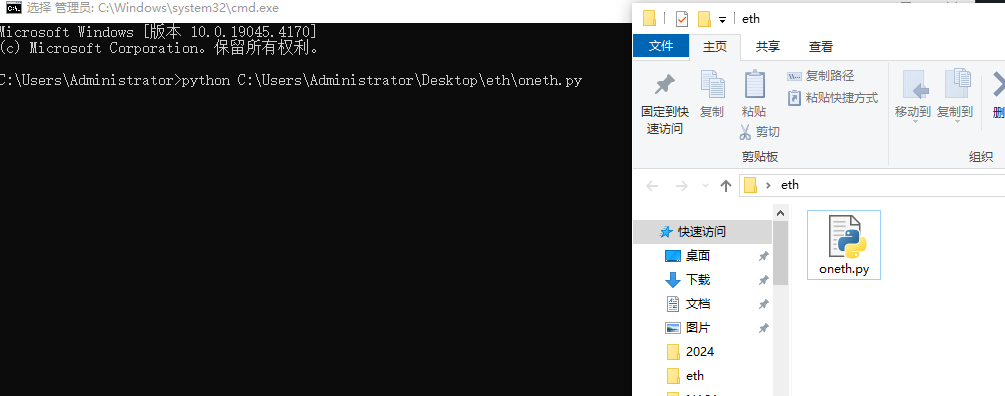
之后 Win + R 运行,输入cmd后确定,在cmd中输入 python ,之后把这个oneth.py拖进去,如图

执行后,就可以看到单个的以太坊钱包地址了

3,接下来介绍一下批量生成以太坊钱包地址的内容
还是在桌面的eth文件夹内新建一个.txt文件,复制一下内容,并改名成eth.py
import os
from eth_account import Account

if __name__ == '__main__':
    # account = Account.create()
    # print('%s,%s'%(account.address,account.key.hex()))
    file_name = input('请输入文件名:')
    if os.path.exists(file_name):
        print("文件已存在,请换个名字:")
    else:
        j=1
        n = int(input('请输入需要创建的钱包数:'))

        for i in range(n):
            Account.enable_unaudited_hdwallet_features()
            account, mnemonic = Account.create_with_mnemonic()
            num = '第%d个钱包' % j
            print(num)
            line =('%s,%s,%s,%d' % (account.address, account.key.hex(), mnemonic, j)) #mnemonic助记词
            print(line)
            j = j + 1
            with open(file_name+'.csv', 'a') as f:
                f.write(line + '\n')
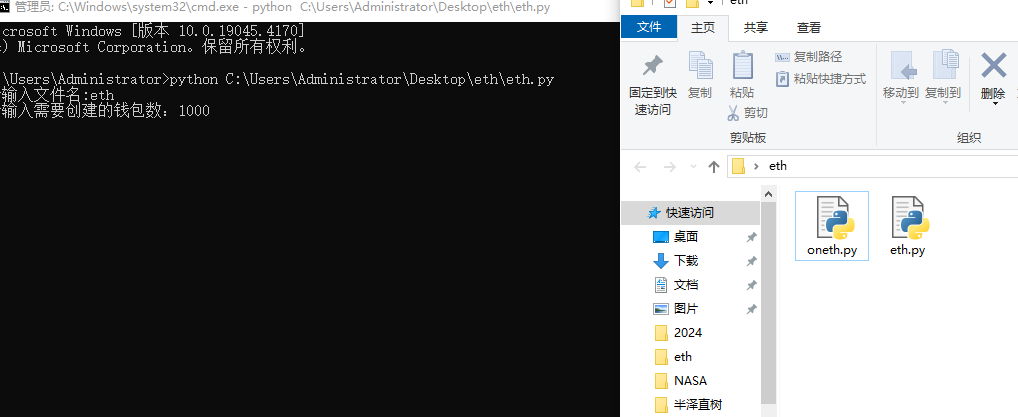
依然是去cmd中,输入 python 后,把eth.py文件拖拽上去后执行,输入想要生成文件的名字,以及eth钱包地址数量
如图

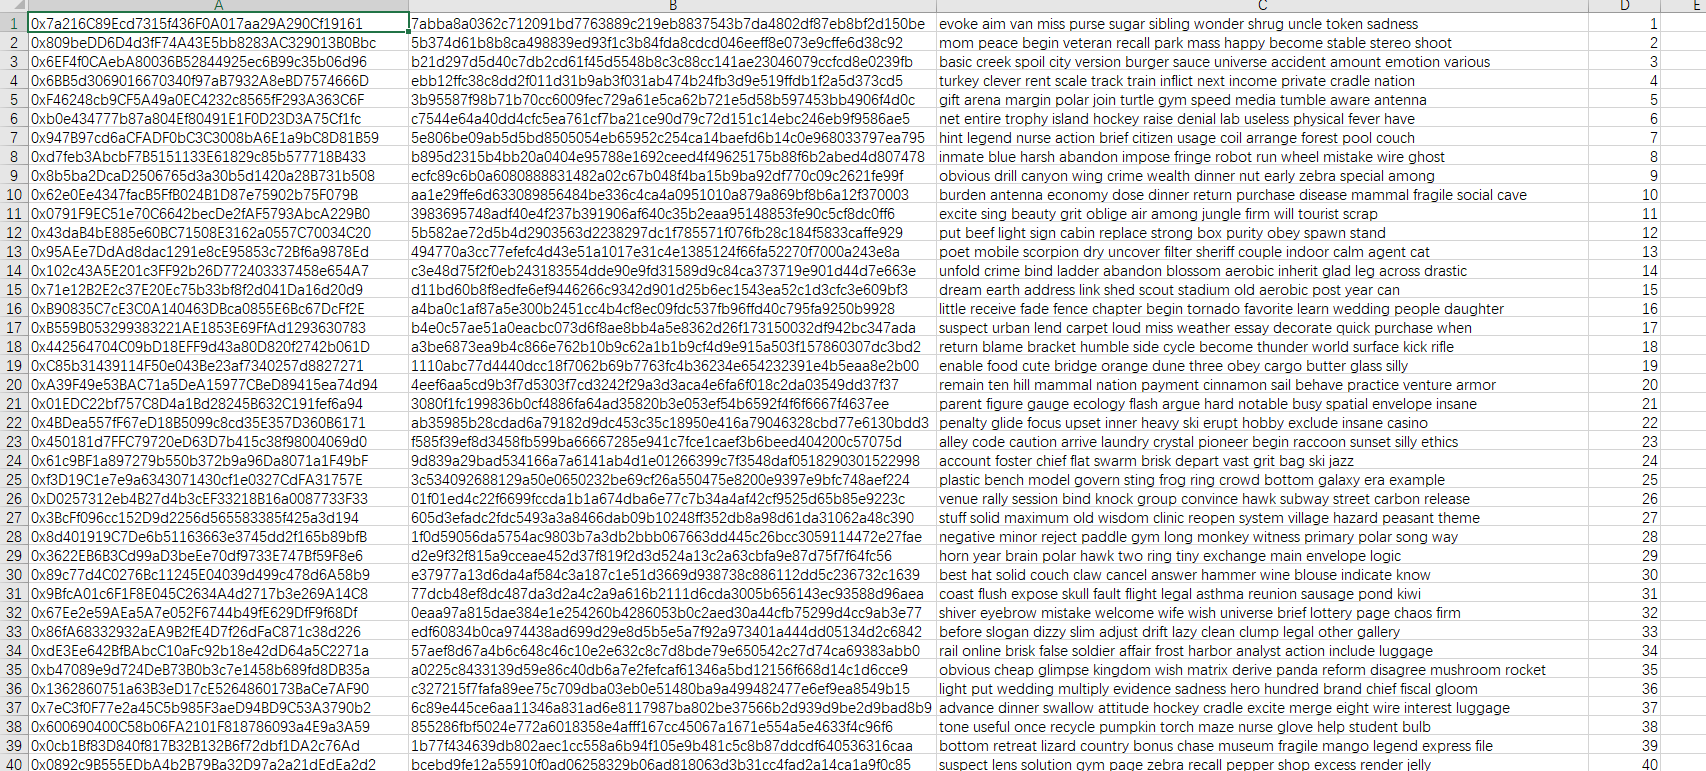
最后耐心等待,完成后 会在 C:\Users\Administrator 目录中出现一个 eth.csv

打开后,里面就是生成好的以太坊eth钱包地址

eth

